Tuesday, March 4, 2025
Spring Cleaning for Photographers: Refresh Your Studio and Office, by Cheri Kellington MPA

Spring is in the air in some parts of Canada, and that means it’s the perfect time to refresh your workspace! Whether you have a home studio, a dedicated office, or a full-fledged photography studio, a good deep clean can boost creativity, improve efficiency, and create a welcoming environment for your clients. I don’t love to do daily cleaning, but I sure love the results of a deep spring clean. Here’s a step-by-step guide to help you tackle your spring cleaning like a pro.
Step 1: Clear the Space
Start by moving everything either out of the room or to one side of the room. This includes furniture, props, lighting equipment, and office supplies. Ask for help if any items are heavy or awkward.
Step 2: Clean the Details
Depending on the size of your room and layout you can clean your space in any order but just be sure that you aren’t making a mess in an area you just cleaned. For example, don’t wash your floor until after you have dusted the ceiling fan.
- Windows – Wash both the inside and outside to let in more natural light for your sessions. Don’t forget to pop out the screens and spray them down and clean the window sills.
- Blinds and curtains – some blinds can be wiped down and others may require professional cleaning. Many curtains can be taken down and washed. Some can be hung damp to prevent the need for ironing.
- Equipment – Dust and wipe down all studio lights, softboxes, and props.
- Ceiling, light fixtures & fans – Dust and remove cobwebs. I have an extendible microfibre duster that works great for this step. If you have a vent fan in the washroom, don’t forget to take the cover off and wash it.
- Shelves & Surfaces – Wipe down desks, camera storage, and shelves to remove dust.
Light switches and plates – sometimes overlooked, your light switches should be wiped down.
Be sure to refresh your water and cleaning solution as you go, you may be surprised how quickly it gets dirty!
Step 3: Deep Clean the Floors, Doors and Walls
- Using the brush attachment, vacuum the floor thoroughly, especially under furniture and along baseboards where dust can accumulate.
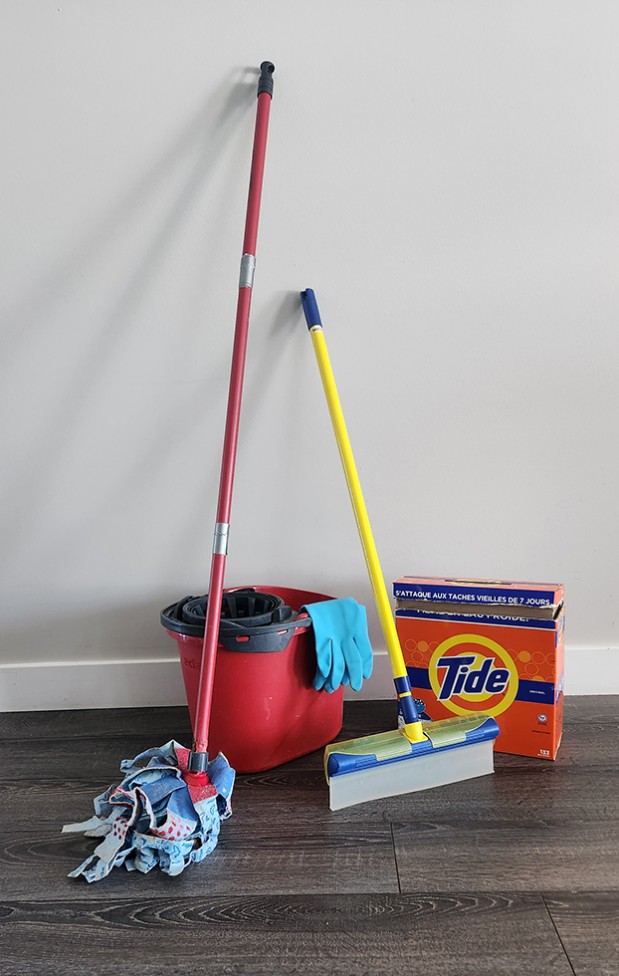
- Wash the walls and doors to remove dust, smudges, and fingerprints. My favourite cleaning solution is warm water with a bit of Tide powder. You can use a mop with a flat head and Velcro cloth to reach the top of the walls if you would prefer not to climb a step ladder. Don’t forget your entry way and door – its your client’s first impression of the space.
- Mats can be shaken out, vacuumed and some may even be able to fit in your washing machine.
- Mop the floors. I prefer to do this step on my hands and knees but if that is difficult you can use a mop. Make sure you clean in the corners and along the baseboards. I often add a bit of bleach to my cleaning solution for this step but be careful of your clothes!
- Now vacuum the floor again to be sure all of the dust has been removed.

Step 4: Declutter & Organize
Now that you have a clean space, it’s time to sort through your belongings before you decide what you are putting back in the room. I like to save boxes for a few weeks before I spring clean so that I can sort:
- Garbage – Anything broken, outdated, or no longer useful to you or anyone else.
- Sell – Items in good condition that you no longer need (consider online marketplaces or photography reseller groups).
- Donate – Props or office supplies might be very welcome donations at a local charity organization. My tip here is to take these items in within a couple of days to ensure you have actually decluttered and not just cluttered up a different area (who hasn’t driven around with a bag of clothes in their backseat for weeks?!?!
- Keep & Organize – Only put back what you truly need and consider if there is a more efficient way to store it.
Step 5: Digital Spring Cleaning
Spring cleaning isn’t just about physical space! Take some time to tidy your digital workspace too:
- Organize Files & Backups – Sort through images, delete unnecessary files, and ensure your backups are up to date.
- Update Software – Check for firmware and software updates for your cameras, editing programs, and business tools.
- Declutter Emails – Unsubscribe from newsletters you no longer read and organize your inbox.

Step 6: Refresh Your Space
Now that your space is clean and organized, consider adding a few new touches to make it feel fresh:
- Rearrange furniture for better workflow.
- Add a plant or print new images for a touch of inspiration.
- Touch up your paint or paint a feature wall.
- Paint your entry door or consider a bright sign or a wreath.
Enjoy Your Clean & Productive Space!
A clean and organized studio isn’t just about aesthetics—it helps create a professional, welcoming, allergen free environment for clients and allows you to work more efficiently. If you aren’t able to physically deep clean or it doesn’t bring you joy, most cleaning companies will offer deep cleaning as extra service. Spring cleaning may take some effort, but the results are well worth it!
One last note on chemicals and scents. There are many cleaning supplies or companies that sell scent or chemical free cleaning products. There are also lots of natural ingredients that clean well like vinegar and baking soda. Some people are very bothered by scents. I don’t recommend scented candles or air fresheners. The smell of clean is actually no smell at all!
Please share your spring cleaning tips and images of your refreshed space!
Article submitted by Cheri Kellington MPA